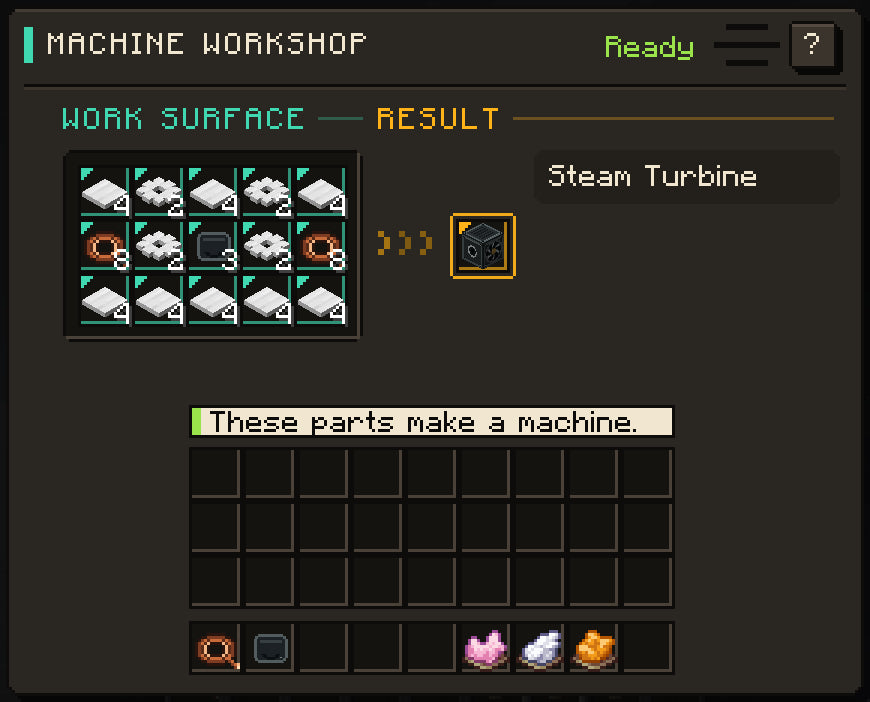
Start small: form some metal, build a workshop, power a lab, then put a computer in charge. This guide takes you from choosing a download to your first useful board.
Choose the mod or the pack
| Download | Choose it when | What you get |
|---|---|---|
| Hard Hoof on Modrinth | You already manage your own mod list | One bundled Hard Hoof jar containing the mod's modules |
| HOOF IT! on Modrinth | You want the prepared companion pack | Hard Hoof, JEI, Jade, and the pack's performance and quality-of-life mods |
The recorded 0.6.0 release uses Minecraft Java 26.3, NeoForge 26.3.0.6-beta, and Java 25. Match the download's game and loader versions. This wiki follows current development; a newly documented feature can arrive after the most recent public download.
Which recipes? Steps 2 and 3 use the development build's recipes (the Forge Hammer, Hearth Casing, Motor and Copper Contacts), which the next release will carry. On 0.6.0, the Coal-Powered Metal Former and the workshop recipes use the older plate-and-wire pattern: check JEI for what your build asks.
For the pack, import its download into a launcher that supports its pack format and let the manifest select the mods. For a manual installation, create the matching NeoForge instance and put the bundled Hard Hoof jar in its mods folder. Use one bundle version; remove an older Hard Hoof bundle when replacing it. Do not install the individual development modules beside the bundle.
JEI is your recipe reference. Jade supplies block information as you look around. Both are included in HOOF IT! and are useful additions to a manual installation. See Companion modpack for the pack overview.
When updating an existing world, keep a backup and read the release changes before opening it with the new build.
Find answers while playing
- Press H, then choose Documentation to open the field guide.
- Use a machine's ? help button when available to open its own topic.
- Use JEI for the exact recipe in your installed build, including workshop patterns and machine processing.
- Read the machine's status before changing the setup: missing ingredients, blocked output, and missing power need different fixes.
See Using the field guide for search, categories, contents, and navigation. If H is assigned elsewhere, find Hard Hoof radial menu in Minecraft's Controls settings.
1. Gather ordinary starting materials
Begin with a crafting table and furnace, then collect iron, copper, redstone, coal or charcoal, clay for bricks, glass, sticks, and the materials for two pistons. Iron is the big cost: plan on a few stacks. Paper comes later, for circuit boards (see Materials and components for sources that are not sugar cane).
Optional help: Magic Sight and Dowsing Goggles. Magic Sight is innate; turn it on from the H wheel and chosen ores glow through rock. Dowsing Goggles are cheap and can be crafted on day one, from leather, a copper ingot, two glass panes and an amethyst shard.
JEI is the place to check any recipe in your installed build and any alternative route. You can develop technology alongside ordinary survival and exploration.
2. Make plates, wire, and gears
By hand first. Craft a Forge Hammer from 3 iron ingots and 2 sticks. It stays in the crafting grid and wears one use a craft (64 uses). With it, at a crafting table:
| Make | From |
|---|---|
| Iron Plate | 2 iron ingots |
| Copper Wire | 1 copper ingot |
| Iron Gear | 5 iron ingots |
That is worse than a machine on purpose. Use it to get started, then build the former.
Then the former. Craft the Coal-Powered Metal Former on the normal 3 × 3 grid from four iron ingots, two pistons, and one redstone.
- Place and open it.
- Select Copper Wire.
- Insert copper ingots and coal or charcoal.
- Collect two copper wire for each ingot after the batch finishes.
- Select Iron Plate or Iron Gear to make workshop parts. A plate uses one iron ingot; a gear uses four.
One cycle forms up to 8 at once, for the same time and coal as one. Load a stack and make a whole batch of parts. The former burns fuel directly. It needs no electricity.
3. Build your manual workshop
The Machine Workshop needs three iron plates, two iron gears, two copper wire, and a crafting table.
Clear three neighboring spaces with solid support below them, then place the workshop at the center. Open any part to reach the same 5 × 3 crafting surface.
Machines here are built from a casing, one or two parts, and one extra item. Make these at the workshop (JEI shows the layout; the [+] button fills the surface from your inventory):
| Make | Takes | Gives |
|---|---|---|
| Hearth Casing | 4 iron plates, 4 bricks, 1 copper ingot | 2 |
| Motor | 4 iron plates, 4 copper wire, 1 iron ingot | 2 |
| Copper Contacts | 4 copper ingots, 1 redstone | 4 |
One batch of each is enough for the next two machines:
| Machine | Takes |
|---|---|
| Coal Generator | 1 Hearth Casing, 1 Motor, 1 furnace |
| Small Electronics Lab | 1 Hearth Casing, 2 Copper Contacts, 2 glass blocks, 1 crafting table |
Crafting happens when you take the result. The workshop uses neither power nor fuel. If no result appears, check the empty cells as carefully as the occupied ones. The Repeat button lays out your last craft again, and the Tiers button shows what to build in your next age. See Tech tiers.
Casings, parts and these recipes are the development build's. The 0.6.0 download used an older plate-and-wire pattern for the Coal Generator and lab; use JEI for exactly what your build asks.
4. Connect your first power supply
Place the Coal Generator, fuel it, and run a short copper-wire connection to the rear of the lab. The generator can supply power from any face; the lab's input is fixed.
The generator supplies up to 96 W at 24 V DC. The lab draws 6 W while working and holds 30 J in reserve. Watts describe the rate of use; joules describe stored energy. A charged buffer can run a machine briefly after supply disappears.
Read Electricity and wiring before expanding the line: cable gauge limits how much current it can carry, and insulation matters around live cables. Rubber explains insulation materials.
Double your ore (optional). A Hammer Mill I turns 2 raw ore into 3 crushed ore, which smelt to one ingot each. Make 2 Rollers (4 iron plates, 2 iron gears, 2 iron ingots make 2), then build the mill from a Hearth Casing, 2 Rollers and a Motor. Wire power to its back. It draws about 43 W and mills about 8 ores a minute, so a Coal Generator can run it. Its screen shows the live numbers. See Ore and steel.
5. Etch your first board
Use the Small Electronics Lab:
- Make Salt by smelting dried kelp.
- Load Salt, an Iron Ingot, and a Water Bucket into the chemistry slots.
- Collect the Etchant, then move it to the etching input.
- Load one Blank Circuit Board, two Transistors, and two Resistors into their lab slots.
- Select Logic Board and collect the finished board.
The lab uses fixed blueprints. Starter designs include a Logic Board, Power Board, and 256 B microcontroller. There is no gate-drawing step. Keep parts in the lab itself, and leave output space for the result.
Pick your next project
| I want to… | Continue with |
|---|---|
| Understand the whole technology route | From materials to programmable worlds |
| Store power | Battery Bank |
| See what each age builds | Tech tiers |
| Fit hardware into my body | Implants |
| Automate material movement | Item logistics |
| Craft from stored materials | Assembler T1 |
| Write my first program | Terminal, then Volt |
| Make a small controller | Microcontroller Frame |
| Change blocks or local world rules | Reality devices |
| Create a world and reach it | Dimension Creator and Gateway |
| Explore character growth or magic | Adventure and Magic |
Something did not work
Start with Troubleshooting. It separates recipe, output, power, connection, and computer problems so you can check one cause at a time.